
The shift to automated linux systems
DevOps relies on moving away from manual server provisioning toward infrastructure-as-code. Linux is the standard platform for this because the command line allows for direct, scriptable control over every system component.
For a long time, system administration meant repetitive tasks. Now, scripts handle those tasks. This shift isn’t always easy. There's a learning curve involved in mastering the necessary tools and scripting languages, like bash. But the benefits – faster deployments, fewer errors, and greater scalability – are substantial. Companies are realizing they have to automate to stay competitive.
The GitHub repository “Linux-Automation-Scripts” by muhibarshad is a good example of the community effort to streamline automation. It provides a collection of scripts and documentation that can significantly reduce the time spent on routine tasks. It's not a silver bullet, but it's a great starting point for anyone looking to embrace automation. You'll find examples of automating everything from user management to log rotation.
The benefits extend beyond just speed. Automation reduces the risk of human error, which can be catastrophic in production environments. It also allows teams to scale their operations more easily, without having to hire additional staff for every new server or application. While initial setup requires investment, the long-term return is often significant.
Bash scripting basics
Bash scripts string together commands to handle logic and repetition. You'll need variables to store data, loops like `for` and `while` to iterate through lists, and `if/else` statements to handle different system states.
Functions are incredibly useful for organizing your scripts and making them more readable. They let you encapsulate a block of code that performs a specific task, and then call that function multiple times throughout your script. This avoids repetition and makes your code easier to maintain. Think of them as mini-programs within your larger script.
A simple example: a script to back up a directory. You'd use variables to store the source and destination paths, a loop to iterate through the files in the source directory, and the `cp` command to copy each file to the destination. The Pavan Elthepu video on YouTube, “Master Shell Scripting & Automation in Linux”, offers a solid introduction to these concepts. It’s a good place to get comfortable with the syntax.
Writing readable and maintainable scripts is just as important as making them work. Use meaningful variable names, add comments to explain your code, and indent your code consistently. This will make it easier for others (and your future self) to understand and modify your scripts. Remember, automation is often a collaborative effort.
- Declare variables using `variable_name=value`
- Use `for` loops to iterate over lists or ranges
- Employ `if/then/else` statements for conditional logic
- Define functions to encapsulate reusable code blocks
Core commands for text and file manipulation
A solid grasp of core Linux commands is essential for effective automation. `sed` is a stream editor that’s perfect for making text substitutions within files. `awk` is a powerful text processing tool that can extract and manipulate data based on patterns. `grep` searches for specific patterns within files, and `find` locates files based on various criteria.
`xargs` is unbelievably useful for building and executing commands from standard input. `tar` archives files, and `gzip` compresses them, reducing storage space. `unzip` does the opposite, extracting files from a compressed archive. Knowing how to chain these commands together using pipes (`|`) is a game-changer.
For example, you could use `find . -name '*.log' | xargs grep 'error'` to search all log files in the current directory for the word "error". Or, `tar -czvf archive.tar.gz directory_to_archive` to create a compressed archive of a directory. The LinuxCommunity.io forum discussions highlight how people use these commands daily in their automation workflows.
I find `sed` and `awk` particularly powerful, though they have a steeper learning curve. They allow for really fine-grained control over text manipulation, which is often necessary when automating complex tasks. Focusing on these commands will pay dividends in the long run.
Essential Linux Commands for DevOps Automation
| Command | Purpose | Automation-Relevant Options | Example Use Case |
|---|---|---|---|
| sed | Stream editor for text transformation. | -i (in-place editing), -e (multiple expressions), -f (script file) | Automated replacement of configuration values in files across a fleet of servers. |
| awk | Pattern scanning and processing language. | -F (field separator), -v (variable assignment), 'BEGIN{...}' and 'END{...}' blocks | Parsing log files for specific error messages and generating reports. |
| grep | Search for patterns in files. | -r (recursive search), -l (list file names), -v (invert match), -E (extended regular expressions) | Finding all files containing a specific error code within a directory structure. |
| find | Search for files based on various criteria. | -exec (execute a command), -name (file name pattern), -type (file type), -mtime (modification time) | Locating and deleting old log files older than a specified number of days. |
| xargs | Build and execute command lines from standard input. | -n (maximum arguments per command), -P (parallel execution) | Processing a large number of files found by `find` in parallel to speed up operations. |
| tar | Archiving utility. | -czvf (create gzip archive), -xzvf (extract gzip archive), --exclude (exclude files/directories) | Creating compressed archives of application deployments for easy transfer and rollback. |
| gzip | Compress files. | -d (decompress), -k (keep original file), -v (verbose) | Compressing log files to save disk space and bandwidth during transfer. |
| unzip | Extract files from a zip archive. | -o (overwrite existing files), -d (specify destination directory) | Automated extraction of application packages during deployment. |
Illustrative comparison based on the article research brief. Verify current pricing, limits, and product details in the official docs before relying on it.
Managing configurations with Ansible
While bash scripting is great for simple tasks, configuration management tools like Ansible are essential for managing complex infrastructure. Ansible lets you define your infrastructure as code, meaning you can version control your configurations and apply them consistently across multiple servers. This is far more reliable than manual configuration.
Ansible playbooks are written in YAML, a human-readable data serialization format. They consist of tasks that define what needs to be done on each server. You define an inventory of servers, and Ansible takes care of connecting to them and executing the tasks. Concepts like modules (pre-built tasks for common operations) and roles (collections of tasks for specific applications) make it easier to organize and reuse your code.
A simple playbook might install a web server, configure a firewall, and deploy an application. Ansible handles the details of connecting to the servers, running the commands, and verifying that everything is configured correctly. It's a huge time-saver, especially when managing large numbers of servers.
Ansible integrates well with other DevOps tools, like Jenkins and Git. This allows you to automate the entire software delivery pipeline, from code commit to production deployment. It's important to start small, focusing on automating a single task, and then gradually expand your playbooks as you become more comfortable with the tool.
- Inventory: A file listing your target server IP addresses or hostnames
- Modules: Pre-built tasks (e.g., install package, create user)
- Tasks: Individual steps to be executed
- Roles: Collections of tasks for specific applications
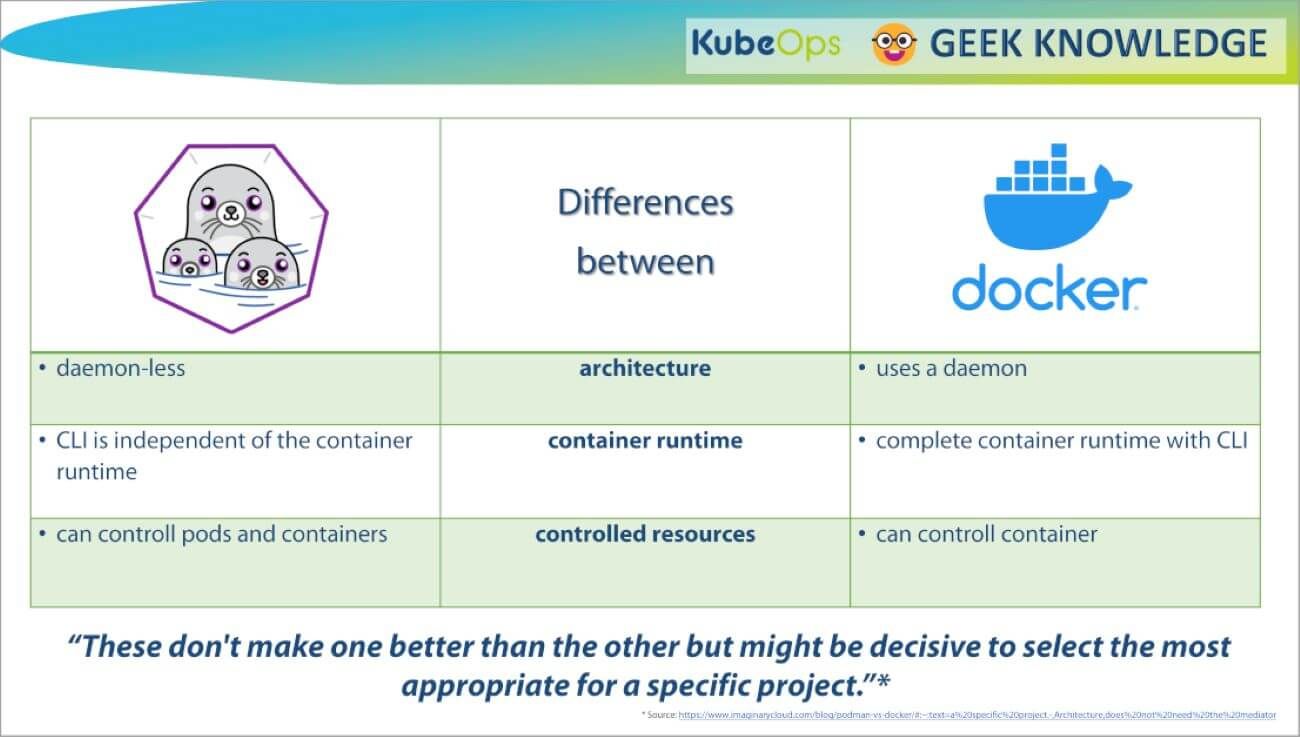
Orchestration with Docker and Kubernetes
Docker and Kubernetes have revolutionized application deployment. Docker allows you to package your applications and their dependencies into containers, ensuring consistency across different environments. Kubernetes orchestrates these containers, managing their deployment, scaling, and networking. Automating these processes is critical for modern DevOps.
You can use Linux automation scripts to build Docker images, push them to a container registry (like Docker Hub), and then deploy them to a Kubernetes cluster. Kubernetes manifests (YAML files) define the desired state of your application, including the number of replicas, resource limits, and networking rules.
Scripts can generate these Kubernetes manifests dynamically, based on configuration data. This allows you to automate the deployment of different versions of your application to different environments. For example, you could have a script that builds a Docker image, tags it with a version number, and then updates the Kubernetes manifest to use the new image.
Kubernetes is complex, so start with a basic understanding of pods, deployments, and services. Automating the creation of these core objects is a good first step. It's about treating your infrastructure as code and automating every aspect of the deployment process.
Content is being updated. Check back soon.
CI/CD Pipelines with Jenkins and GitLab CI
Continuous integration and continuous delivery (CI/CD) pipelines are the backbone of modern software development. They automate the process of building, testing, and deploying code changes. Jenkins and GitLab CI are two popular tools for building these pipelines. Both allow you to define a series of stages that are executed automatically whenever code is committed to a version control system.
A typical pipeline might include stages for code compilation, unit testing, integration testing, and deployment to a staging environment. Linux automation scripts can be integrated into these pipelines to perform tasks like running tests, building artifacts, and deploying code to servers. For example, a script might execute a series of unit tests and then upload the test results to a dashboard.
I prefer GitLab CI because the YAML configuration lives right next to the code. Jenkins is still the standard for older enterprise setups that need complex plugin support, but it requires more server maintenance.
The power of CI/CD lies in its ability to catch errors early and often. By automating the testing and deployment process, you can reduce the risk of introducing bugs into production and accelerate the delivery of new features.
Monitoring and Alerting Automation
Automation isn’t just about deploying code; it's also about proactively monitoring your systems and responding to issues. Linux automation scripts can collect system performance metrics, analyze logs, and trigger alerts when certain thresholds are exceeded. This allows you to identify and resolve problems before they impact users.
Tools like `sar` (System Activity Reporter) and `top` provide real-time information about CPU usage, memory usage, and disk I/O. `vmstat` reports virtual memory statistics. Scripts can collect this data periodically and store it in a database for analysis. You can then use alerting systems like Nagios or Prometheus to send notifications when metrics exceed predefined thresholds.
For example, you could write a script that checks the CPU usage of a server and sends an email alert if it exceeds 90%. Or, a script could parse log files for error messages and trigger an alert if it detects a critical error. The goal is to automate the detection and response to potential problems.
Automated monitoring allows you to shift from reactive to proactive problem solving. Instead of waiting for users to report issues, you can identify and address them before they even become noticeable. This improves system reliability and reduces downtime.
Securing your scripts
Automating tasks introduces new security risks that must be addressed. Scripts often require access to sensitive data, such as passwords and API keys. It's crucial to follow best practices to protect this information. Always use the principle of least privilege, granting scripts only the permissions they need to perform their tasks.
Avoid hardcoding credentials directly into your scripts. Instead, use environment variables or a secure credential management system. Regularly audit your automation scripts for vulnerabilities, looking for potential security flaws. Input validation is also critical – ensure that your scripts properly validate all input data to prevent injection attacks.
Consider using tools like `sudo` to restrict the commands that scripts can execute. Regularly review the logs generated by your automation scripts to detect any suspicious activity. Security should be a top priority when automating tasks, as a compromised script can have devastating consequences.
Remember that automation doesn’t replace security, it changes the security landscape. You need to adapt your security practices to account for the new risks introduced by automation. A layered approach, combining strong authentication, access control, and regular security audits, is essential.


No comments yet. Be the first to share your thoughts!